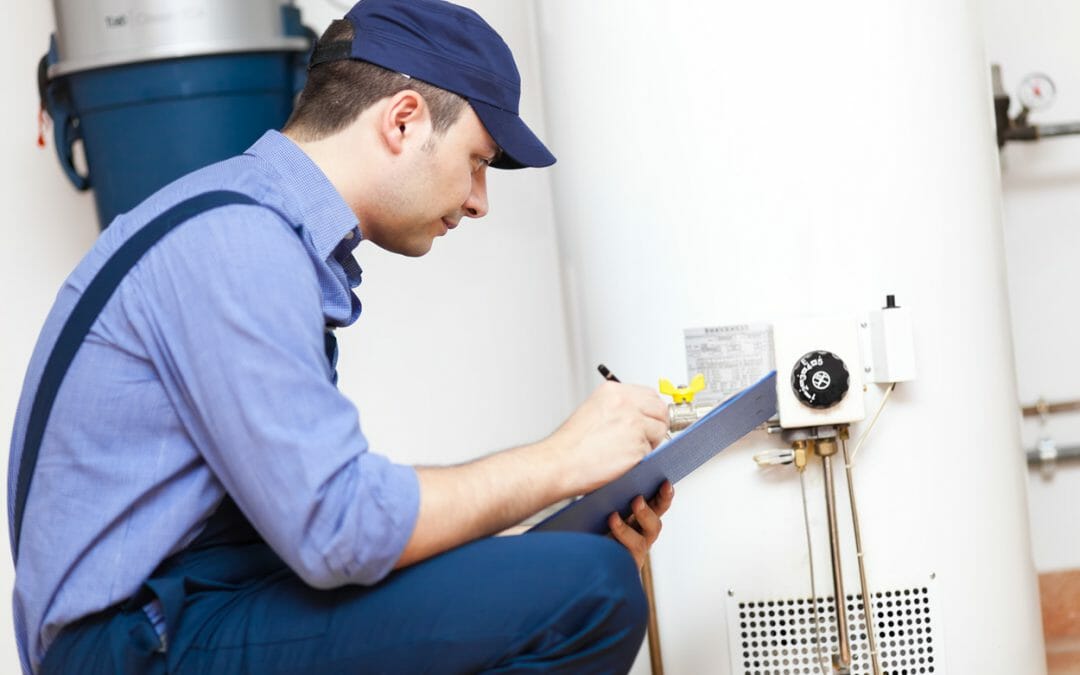
Are you looking for the basics of water heater installation and repair? If so, you have come to the right place! Installing and repairing a water heater can be daunting if you don’t know what you’re doing. This blog post will walk you through the basics of water heater installation and repair, so you can quickly get your home’s hot water running again. If you are not sure, please call A1 Discount Plumber.
Tools and Materials Needed
Before beginning a water heater installation, it is essential to ensure you have all the necessary tools and materials. This includes pipe wrenches, adjustable wrenches, channel-lock pliers, a hacksaw, hammer, drill, screwdriver set, and pipe thread sealant. You may also need a variety of plumbing fittings, including an elbow, T-fitting, shutoff valve, gas shutoff valve, union, dielectric unions, and flexible gas line connector. You’ll also need copper tubing, rubber hose, or plastic tubing for cold and hot water lines. You may also need insulation material for the hot water tank, a thermostat, a heating element for electric water heaters, and flexible connectors for gas and water lines. Make sure to purchase the appropriate type of water heater for your home before beginning the installation process. If replacing an old water heater, measure its dimensions to find a model with similar measurements. If this isn’t possible, consider buying an expansion tank to account for additional pressure. During the water heater installation, you will want to be sure that all piping is connected correctly and that there are no leaks. Using brass or galvanized steel pipes when connecting your water heater is best.
Additionally, ensure that the pipes connecting the water heater to the rest of the plumbing system are adequately insulated to avoid heat loss. Ensure valves and controls are securely tightened, so they don’t come loose over time. Finally, test the unit by running water to ensure everything works correctly.
Steps to Take
- Shut off the power and water supply to the water heater. If your water heater runs on gas, turn off the gas valve.
- Disconnect the water supply and drain line from the water heater. If replacing an existing water heater, you can use a wet/dry vacuum to get all the water out of the tank.
- Install the new water heater. Ensure it is correctly connected to the power, water, and drain lines.
- Turn the power back on and allow the water heater to fill with cold water before turning on the hot water supply.
- Once the water heater has been filled, test for any leaks or other issues.
- Adjust the thermostat to the desired setting if installing a new water heater.
- If you’re repairing an existing water heater, clean the sediment from the bottom of the tank and replace any faulty parts.
- Once everything functions correctly, turn on the hot water supply and enjoy!
When to Call a Professional
No matter how much you want to tackle installing or repairing a water heater on your own, it is always best to leave this job to a professional. A 1 Discount Plumber is an excellent choice for reliable, quality service when it comes to water heaters. Professional plumbers have the knowledge and expertise to ensure that all installation and repair work is done safely and correctly. They are also experienced in working with all makes and models of water heaters, so you can be sure your job will be completed quickly and accurately. In addition, plumbers are familiar with local regulations and building codes, so you won’t have to worry about any potential legal issues. Calling a professional for assistance with your water heater installation or repair will save you time, money, and hassle in the long run.

